DIY Wall Art: How to Create Personalized Decor with Inspirational Quotes
Articles may contain affiliate links.
This post is sponsored by Pilot Pen. Although I am receiving compensation for this post, all comments and reviews of products received are mine and mine alone. I strive only to promote products that I think are excellent.
Beautify Your Space
Nothing makes a space more lovely than a bit of thoughtful decor. But, if you’re like me, it can be hard to justify spending money on something that is ultimately not necessary — especially since decor can be wildly expensive! There is a solution, though. Make it yourself! When you invest time into creating your own DIY wall art, you are not only saving a ton of money. You are also creating art that is totally unique and personalized to your particular taste. Plus you get to display your hard work proudly and see the fruits of your lettering efforts, which is a wonderful feeling in its own right. In this tutorial, I’m going to show you how to design and create your own inspirational quote DIY wall art so you can beautify your home or office!

Supplies I Used
- Kaküno Calligraphy Pen Kit
- Pop’lol Gel Pens
- Creoroll Gel Pastels
- Pilot Ensō Watercolor Brush Pen
- Lettering Pens
- Plumix Calligraphy Pen Kit
- Parallel Calligraphy Pen Kit
- Pilot G2 Mechanical Pencil
- White Cardstock
- Craft Paper
- Ruler
- Scissors
- Picture Frame

How to Create DIY Wall Art
Now that we’ve covered what materials you’ll need, let’s get into the nitty-gritty of creating your wall art! There are six steps you need to take to create your art, but you can absolutely add in extra steps to really personalize your decor. Here are the steps I took to design and letter my DIY wall art!
How to Create Personalized Art

Step One: Pick an Inspirational Quote
The first thing you want to do is pick out your inspirational quote. This sounds easy, but there are a million different sayings and quotes that are promising candidates for wall art. If you don’t have a particular quote in mind, I’d suggest keeping a running list of the quotes that inspire you in your bullet journal. Browse Pinterest or Instagram for sayings that speak to you. Once you get a few that you want to immortalize on your wall, then proceed to the next step.
Step Two: Sketch Out Ideas
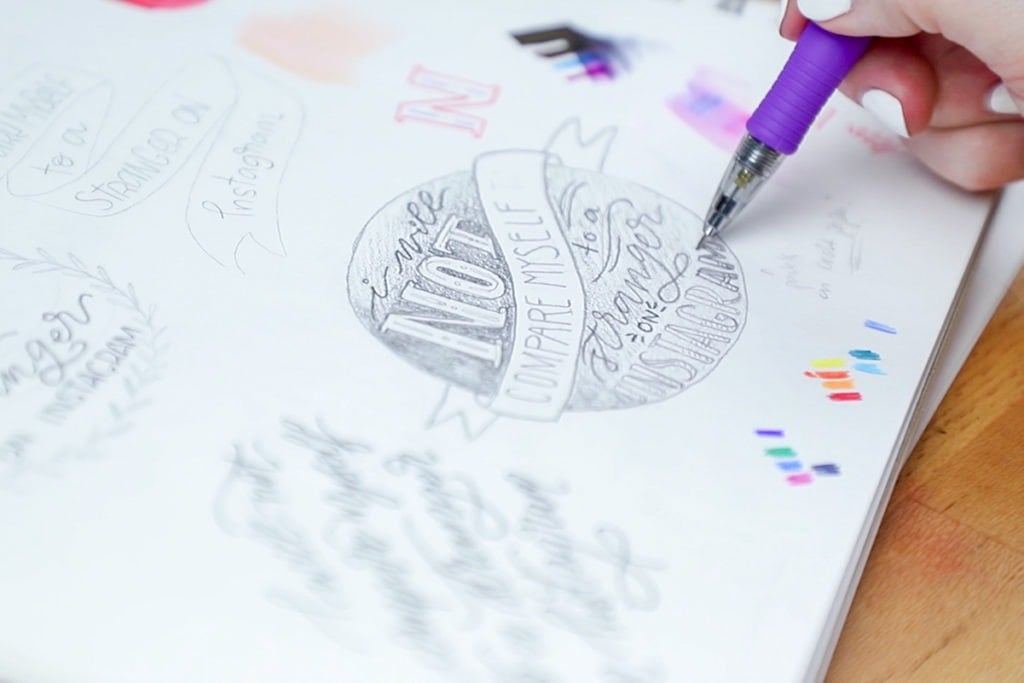
Since this art will hang for everyone to see, you want to make sure to put some thought into the layout and design of your quote. Sit down and sketch out different layouts to see which one will look best. Think about how it will look in its frame — will it be horizontal or vertical? Are there certain words you can emphasize? Think about how you can make certain words stand out in your art. You might use a different color, font, or size to set a word apart. Play around with angles, drop shadows, and highlights. Basically, try a bunch of stuff and see what looks best. This step might take a while, but it will make the rest of the steps much easier and make the final product turn out better.

Step Three: Pencil Out Design
With your final design sketched out, you might be tempted to put your pen to paper ASAP. However, I would highly suggest you pencil out your design first. There is absolutely no shame in giving yourself a guide. Trust me, I’ve tried lettering big projects without a guide, and I get the spacing wrong nearly every time. You don’t want to be halfway through a lettering piece only to mess up the spacing on the final word. Avoid that issue altogether by simply using a pencil to lightly draw out the design on your paper.
Pro Tip: Make sure your paper is cut to fit your frame before you begin lettering your design. Cutting it after you finish might ruin your design.
Step Four: Letter Your Inspirational Quote
Now it is time to begin lettering for real! Grab your pens and begin the process of inking your art. Take your time — there is no need to rush your work.

Step Five: Add Embellishments
Once your lettering is complete, you can choose to pump up your design with some embellishments. There are a ton of different embellishments you can add, like wreaths, stars, colorful lines, abstract patterns, and so much more. The sky is the limit! Don’t be afraid to get extra creative here.

Step Six: Frame Your Art
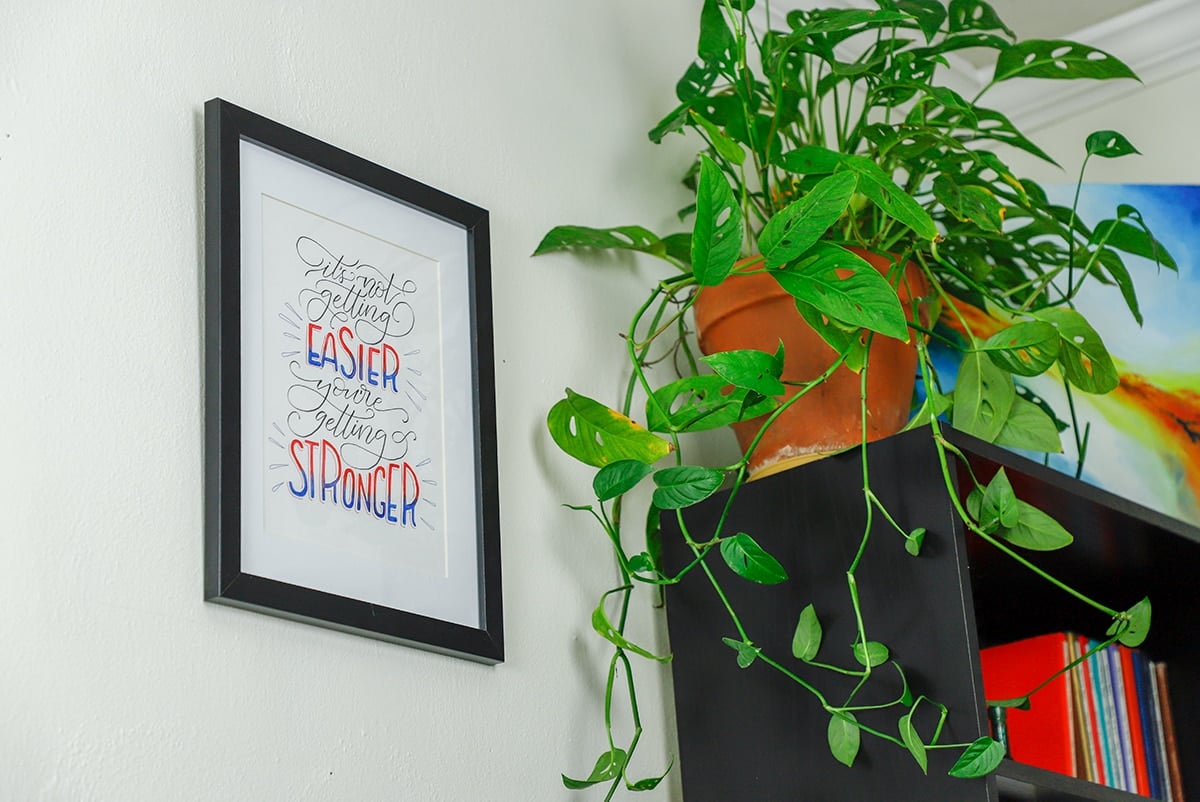
Your wall art is complete. Hurray! Now you can pop it into its frame and hang it proudly. If you don’t want to use a frame, use thumbtacks or colorful tape to stick it up on your wall.

Advice for Your DIY Wall Art
As you begin this project, you might find yourself overwhelmed with perfectionism and unable to move forward. If that’s the case, know that you’re not alone! I still struggle with perfectionism from time to time. Try to remember that this piece of art is not forever. You can easily swap out your art for a brand new quote, design, or color composition at a later time. The point isn’t to make this piece perfect. The point is to make something you enjoy. Don’t overthink it and just create something that makes you happy.

Go Make Something Awesome
That’s is all it takes to create some gorgeous DIY wall art for your home or office! I hope you found some helpful advice or inspiration, and I can’t wait to see what you create. Make sure you tag me on Facebook or Instagram if you decide to share your beautiful art online. And tell me in the comments down below what quote or saying you would love to see hanging in your space — I’m always looking for lettering inspiration!


Great tutorial. Never thought about it but it’s a perfect way to practice calligraphy and do something fun and motivational!
Wow you’ve come a long way with your video/editing, great job Shelby!
Thank you so much Dawn! This was such a fun project to work on. 🙂
Thanks for sharing! Can’t wait to try. These also would make great gifts!
Good luck! These would make fantastic gifts.
Enjoyed Video
I’m glad you enjoyed it!
This is wonderful. Thanks for your carefully thought out tutorials. I have used baby steps to begin to enjoy adding my own color and Hope-filled quotes to both bujo and wall space. So inspiring.
I’m glad you enjoyed it, Mary! It’s amazing how much these little dashes of positivity can brighten your entire space.