How to Address a Black Envelope with Lettering Style
Articles may contain affiliate links.
Handmade Envelopes Rule
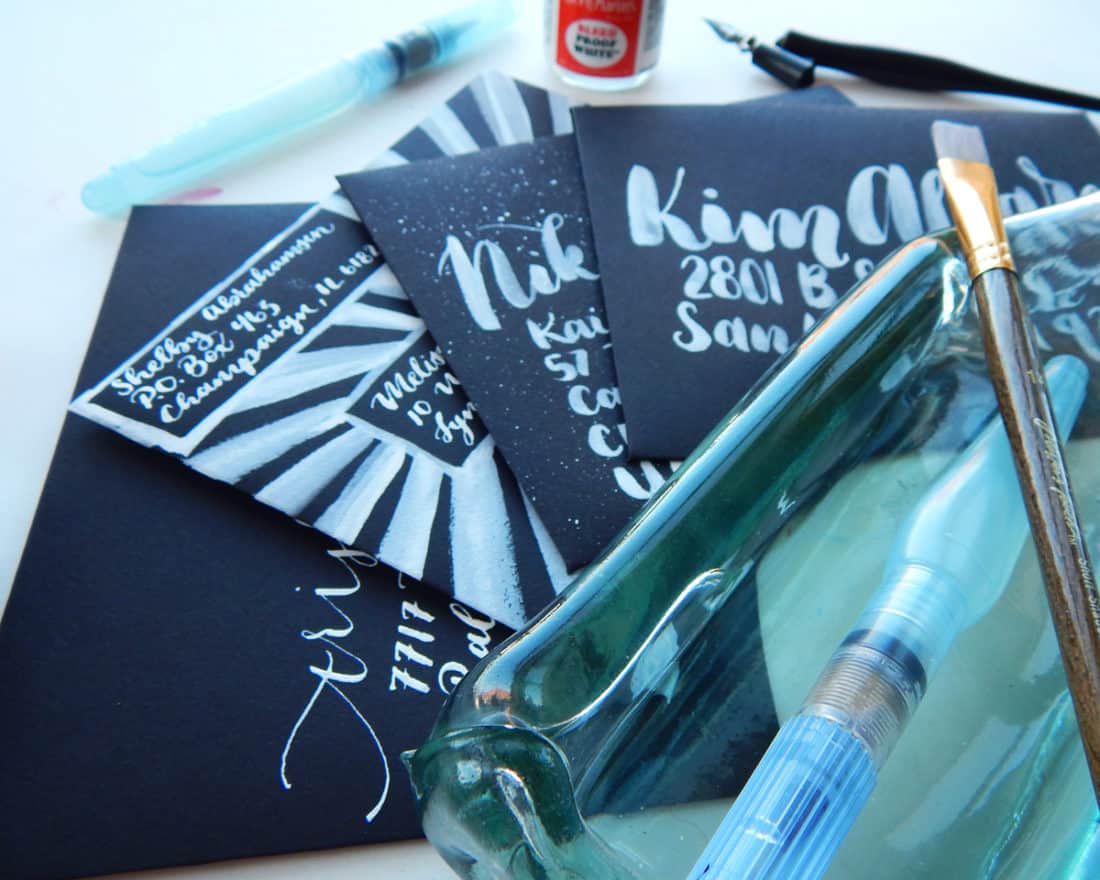
One of the joys of writing and sending letters is the ability to really go all out with the class and style. I just adore the thought of a friend’s smile when they open their mailbox and a little piece of art is waiting for them. That’s why I love to make my own DIY envelopes and customize them for each letter! The ability to use any type of paper and create all kinds of special sizes makes my mind soar with creative possibilities. One of the snappiest looks I’ve managed to create thus far is white ink on a black envelope. It’s fancy, mysterious, and it stands out from all other mail. Here are some of my favorite ways to decorate a black envelope for maximum wow!

Materials Needed
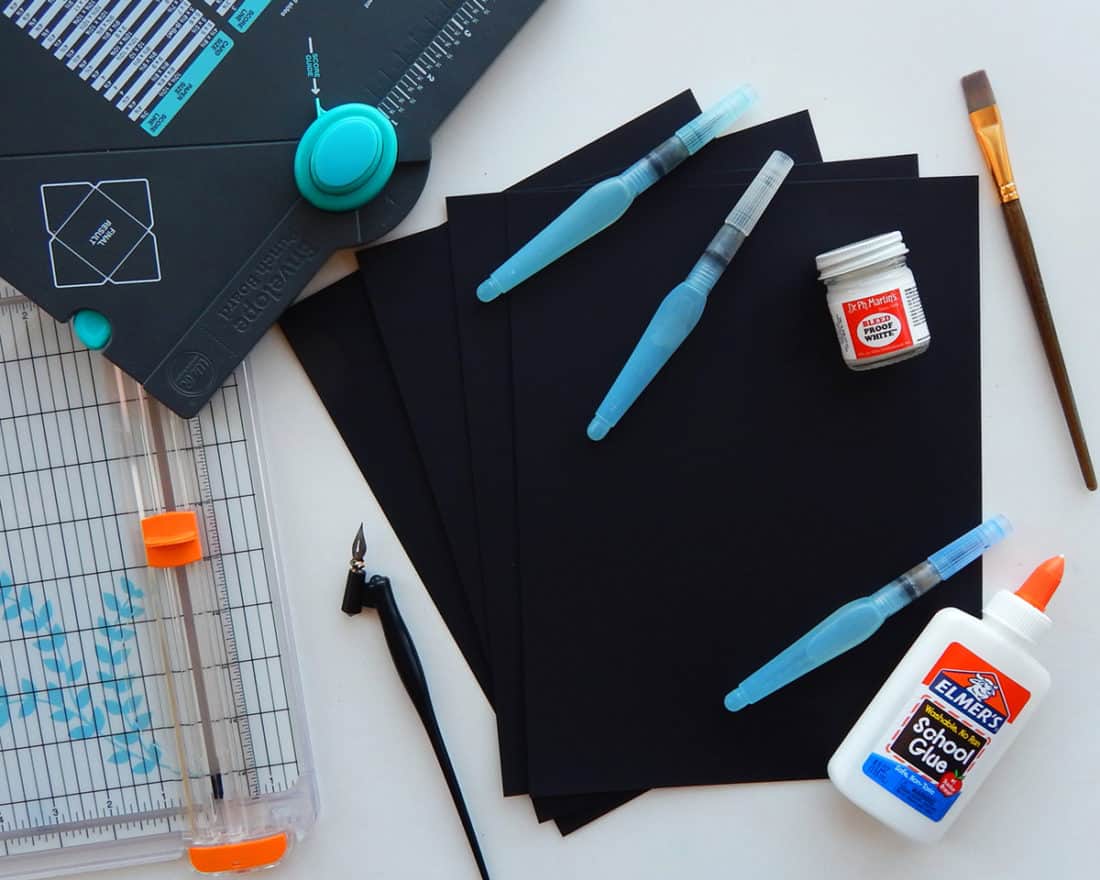
Dr. Ph. Martin’s Bleedproof White
Pentel Aquash Water Brush Pens

The First Step
Before we begin to jazz up some black envelopes, we first need the envelopes! To learn the step by step process of making a envelope, head to this post. If you already know how to create envelope blanks, then have at it! I like to make them all up front instead of creating the blanks as I go, but you do you.

Style #1 – Brush Lettering
Now that you have your black envelopes cut out and ready, it’s time to address them! The ink I’m using on the black paper is Dr. Ph. Martin’s Bleedproof White, which is an extremely thick and opaque paint-like substance. I love the Bleedproof White for how opaque it is, as it often only needs one layer to be perfectly sharp against the dark background.
I must warn you, though, that you might be a bit surprised when you open the bottle for the first time. The consistency right out of the bottle is goopy, almost like congealed house paint. But there’s an easy way to make it the perfect consistency! Just add a bit of water to the bottle and stir it into just the top part of the ink. The bottom will remain thick while the top layer of the bottle will be akin to the ink that you would expect. If you need it thicker, you can stir a little deeper to get more raw ink, and you can play like this until you get the perfect level of liquid. I like mine to be pretty watery, but you can make it work for whatever your project might be.

This first style is simply using a watercolor brush lettering style, like the one seen in this post, with the Bleedproof White and an Aquash Brush Pen. I was writing a letter to Kim from Tiny Ray of Sunshine, who is one of the few people whose address I can share online because she accepts letters from the good people of the internet. This style is simple, clean, and gorgeous. Plain white lettering on a black envelope is just the beginning of what you can do, though.
Style #2 – Nib Calligraphy
Another simple but charming style of addressing your black envelope is by using nib calligraphy. I like the flex nibs from the Manuscript Leonardt set, and they do magnificently in an oblique nib holder. The basic principle of nib calligraphy is the same as brush lettering: thick down strokes and thin upstrokes. The Bleedproof White, when watered down, is the perfect consistency for a nib pen. It’s liquidy enough to flow through the tines and still opaque enough to give a fabulously bold white line.

You can add the Bleedproof White to the nib one of two ways. The first is to simply dip the nib into the watery surface of the ink, while the other is to brush the ink onto the underside of the nib with a paintbrush. Both work fine, but dipping it is a bit quicker and easier.
The effect is right out of times of old! Brush lettering usually looks modern and bubbly, but nib calligraphy transports you to the days when people wrote letters longhand by candlelight. I love it. I like to think that my nib calligraphy looks a bit like the writing of a fancy pirate.

Enter the Fox Den Resource Library
Subscribe to get access to 40+ pages of printables, brush lettering worksheets, and more!
Style #3 – The Galaxy Envelope
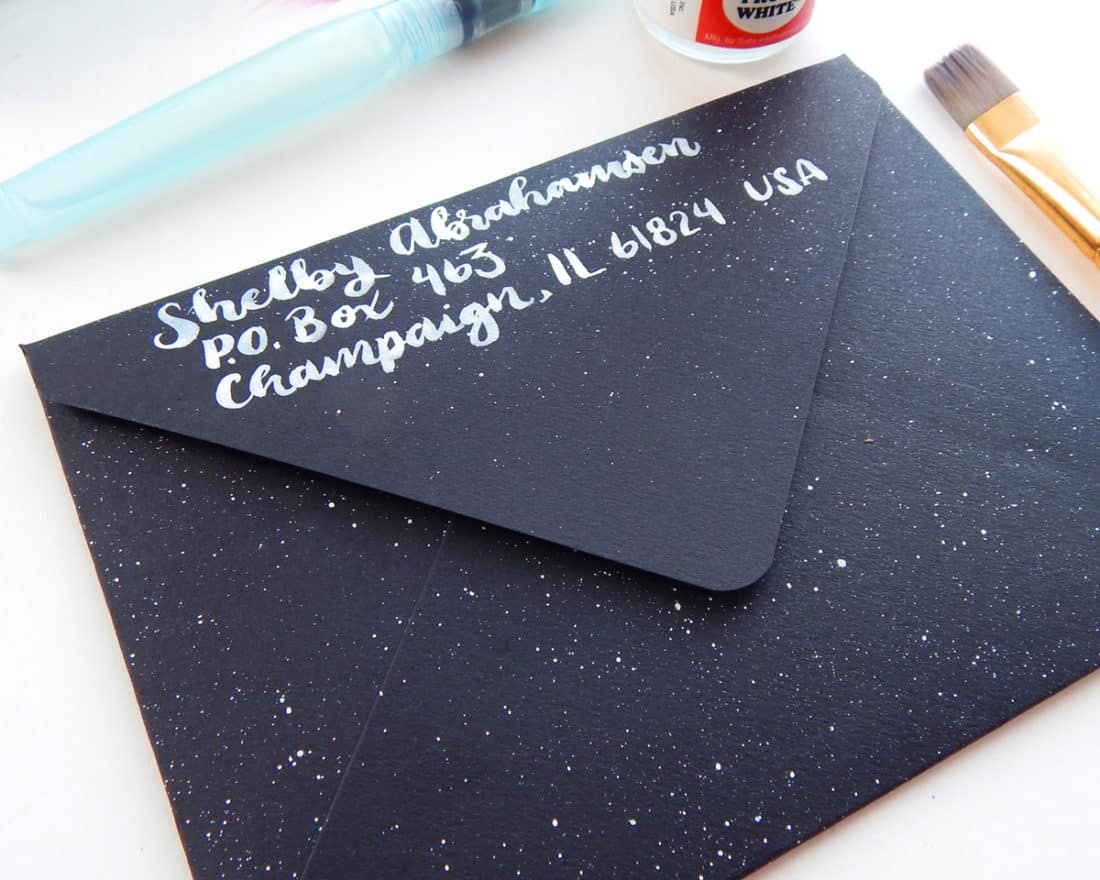
Here’s an incredibly easy technique that creates a nifty galaxy effect, albeit a little messy. Get your envelope blank laid out flat on a paper towel and dip your flat paintbrush into the Bleedproof White, only getting a little bit of the ink on the brush. Then use your thumb to flick the bristles at the paper, and BAM – you get stars!


This is such a cool way to decorate an envelope. It’s sure to knock the socks off of your letter’s recipient. If you’re feeling froggy, you can concentrate the majority of the splatters to a single streak, creating the Milky Way across your envelope.
This neat trick can be used in conjunction with whatever type of lettering you like, and you can easily address the envelope before or after you create your starry effect.

Style #4 – The Starburst
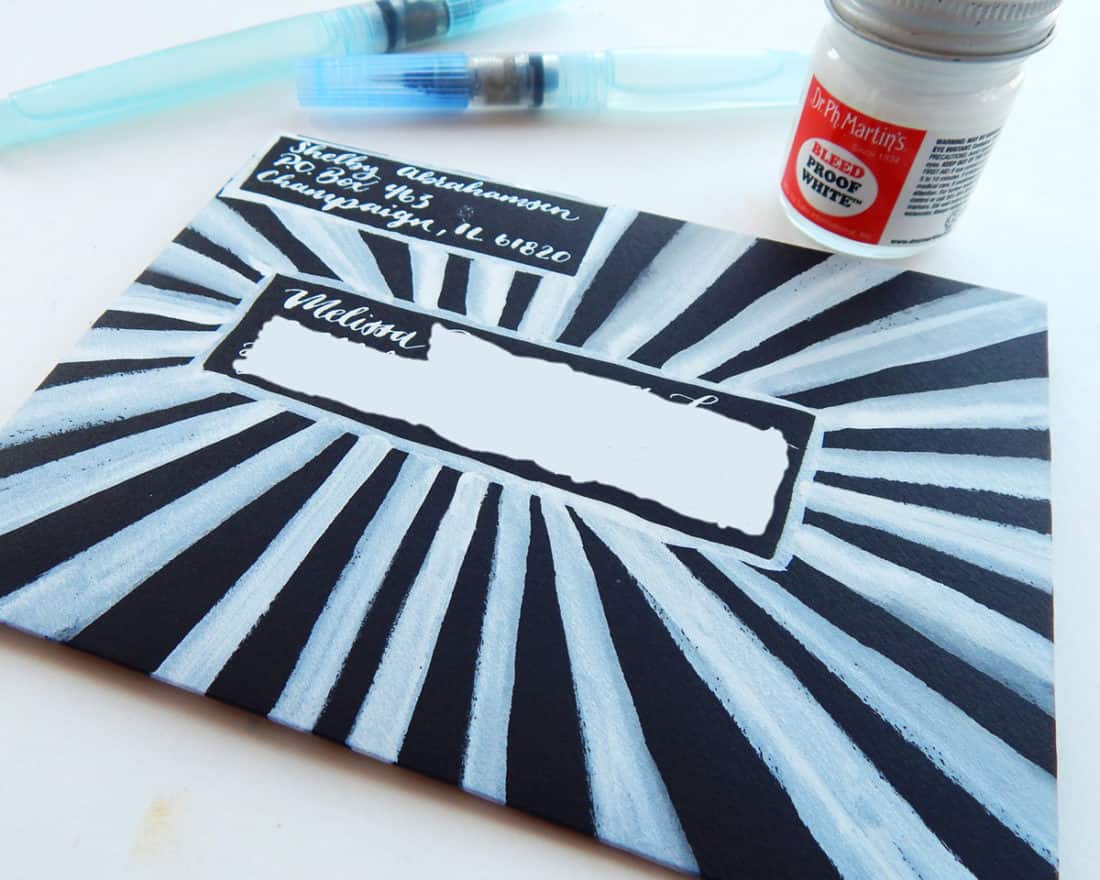
The last style is one that is only for the more patient folks, but the final result is worth the work. With this envelope, I laid it out flat and addressed it in small letters. Then I created a box around both addresses and got to work. With my biggest Aquash brush, I created four rays of the Bleedproof White, each going to the tips of each flap. With those guidelines, I began to fill in each quarter of the envelope with more white rays. This could be done with a ruler and precision if desired, but I wanted to get the rough, free handed look.

When everything is all dry, just assemble the envelope like normal with glue. The rays being folded over the edges of the black envelope have such a cool look that I’m sure even the postman had envelope envy. I especially like the backside of the envelope. It makes me think of Beetlejuice!


Make Your Letter Stand Out
Aren’t these all super easy? There’s no fancy tricks or crazy steps to get a great looking black envelope – it just takes a great white ink and some imagination! A black envelope is dramatic and bold, and will be sure to leave a lasting impression on your addressee. And if you want bonus points, seal your envelope with a wax stamp and really get their attention! Black envelopes are great for Halloween invitations, black tie events, or just fun letters. So why not give this simple style a try for yourself and see how cool it can be? I promise it will be anything but boring!


I love that <3 So sad that in Germany they charge extra for "special creations" or the letter even goes back to sender… Yet I always try to decorate the envelope at least a bit – away from the address areas – it is just too tempting and makes everyone happy (but the post 😛 ) 😀
Wow, I didn’t know that Dani! A decorative envelope really is more fun.
Hey Shelby, great post! Are there any tricks to using the oblique nib and pen? Do you need to hold it a special way, etc? Thanks for any tips you can share!
Thanks, Else! I’ve been meaning to get a post together to cover the basics of nib calligraphy, but here’s the essential trick: pull the nib toward and push down a bit, and only let it glide when you’re pushing away. Never try to apply pressure when you are doing an upstroke or pushing it away! The nib won’t like it and the result won’t look nice. Just pull toward you. Try doing some basic loops and swirls to get the motion down! I hope that helps 🙂
Hi Shelby, love the post. I always think that there is something super chic about a black envelopes.
Thanks so much, Claire! And I totally agree. They’re just so slinky, ya know?
Shelby… I Love being a part of Little Coffee Fox! Love all of your ideas… tips… and posts you send. In this post, addressing on a black envelope, besides what you show here… Do you have a favorite pen or marker that writes well on black? I would just love to find a good white pen/marker…
Thanks in advance for your input!
Susan
That’s such a sweet thing to say, Susan, thank you 😀 ! Besides the Bleedproof white ink, I only have one other suggestion – but I’m not a huge fan of this pen. The Sakura Gelly Roll white pen would do the trick (that’s an affiliate link btw). The reason I’m not singing this pen’s praises is because it gunks up on me all the time. Of course, that could just be my individual pen. Plus the line is pretty small, and I prefer thicker lines. Who knows, maybe you’ll love it! That’s the only other white pen I can say I’ve used, so hopefully that helps!
Shelby, Thank you for getting back to me. I will try the Bleed proof white ink… it and the pen are all new to me, but I love a challenge, so I’ll give it a try. (Instead of falling back on a the white gelly roll pen)
I love all of your e-mails, ideas, web page and just everything! Keep up the good work!
Thank you so much for the kind words, Susan! It’s really lovely to hear 😀 I hope you have fun with the Bleedproof White!